브로그 post에 사용되는 Markdown엔 코드를 작성할때 사용하는 문법이 있다.
일명 백틱 바로 ``` 이다.
백틱을 사용하면 백틱과 백틱 사이의 코드들이 <code> 태그안에 작성되는데 이 코드를 언어에 맞춰 보기좋게 보여주는 방법에 대해 알아보자.
1. gatsby-remark-highlight-code
npm 패키지 gatsby-remark-highlight-code
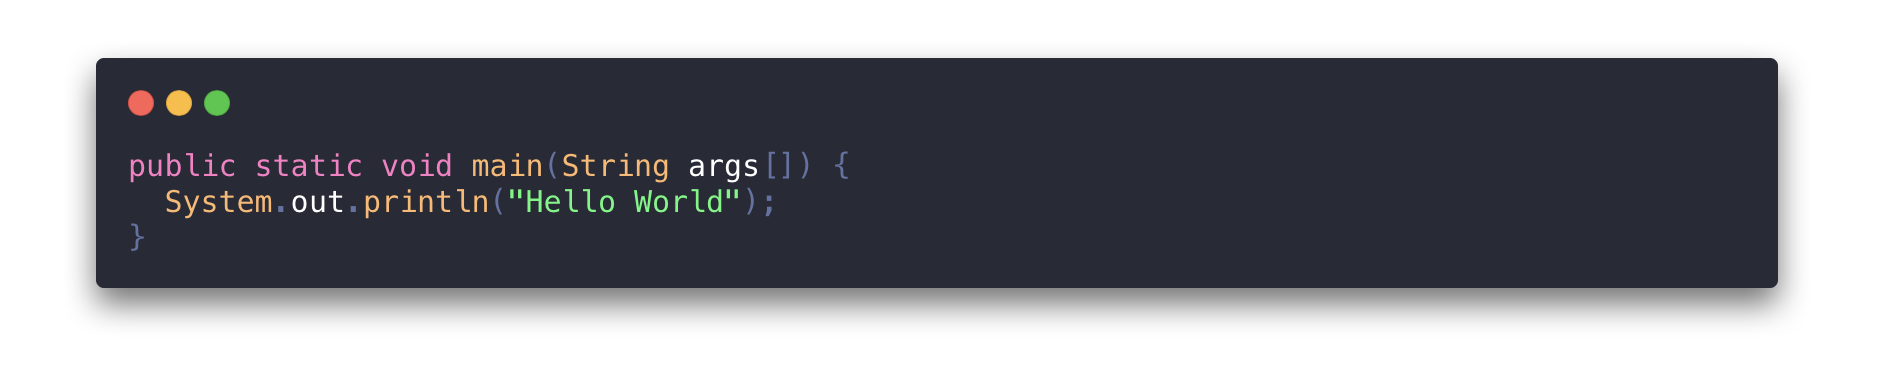
이 패키지는 Markdown 파일 안에 작성된 코드를 ios 터미널과 유사한 형태로 보여준다.
- 디자인
- 테마
- 우분투 디자인

- 테마 없음
 미리 정의 된 카드는 없지만 여러 CSS 변수로 스타일을 지정할 수 있다.
사용방법
패키지 설치
먼저 패키지를 설치한다
npm install --save gatsby-transformer-remark gatsby-remark-highlight-code @deckdeckgo/highlight-codegatsby-config.js에 패키지 추가
- “gatsby-transformer-remark”를 사용하는 경우
// In your gatsby-config.js
plugins: [
  {
    resolve: `gatsby-transformer-remark`,
    options: {
      plugins: [
        {
          resolve: `gatsby-remark-highlight-code`
        }
      ]
    }
  }
]- “gatsby-plugin-mdx”를 사용하는 경우
// In your gatsby-config.js
plugins: [
  {
    resolve: `gatsby-plugin-mdx`,
    options: {
      extensions: ['.mdx', '.md'],
      gatsbyRemarkPlugins: [
        {
          resolve: `gatsby-remark-highlight-code`
        }
      ]
    }
  }
]
페이지에 구성요소 로드 하기
페이지 또는 구성 요소 중 하나에 @ deckdeckgo/highlight-code를 한 번 로드한다.
웹 사이트의 기본 파일 index.js, 또는 layout.js, 등 블로그 템플릿에 다음을 추가하거나 필요한 곳에로드하자
import { defineCustomElements as deckDeckGoHighlightElement } from '@deckdeckgo/highlight-code/dist/loader'
deckDeckGoHighlightElement()
옵션
| property | type | default |
|---|---|---|
| terminal | carbon, ubuntu or none | carbon |
| theme | 3024-night , a11y-dark , blackboard , base16-dark , base16-light , cobalt , dracula , duotone , hopscotch , lucario , material , monokai , night-owl , nord , oceanic-next , one-light , one-dark , panda , paraiso , seti , shades-of-purple , solarized-dark , solarized-light , synthwave , twilight , verminal , vscode , yeti , zenburn | dracula |
| editable | boolean | false |
| lineNumbers | boolean | false |
테마 적용 방법
모양을 지정하는 terminal 옵션의 default는 carbon 이며 ubuntu(Ubuntu와 유사한 컨테이너) , none(창 컨테이너 없음 )을 선택하여 사용할 수 있다.
// In your gatsby-config.js
plugins: [
{
resolve: `gatsby-transformer-remark`,
options: {
plugins: [
{
resolve: `gatsby-remark-highlight-code`,
options: {
terminal: 'ubuntu'
}
}
]
}
}
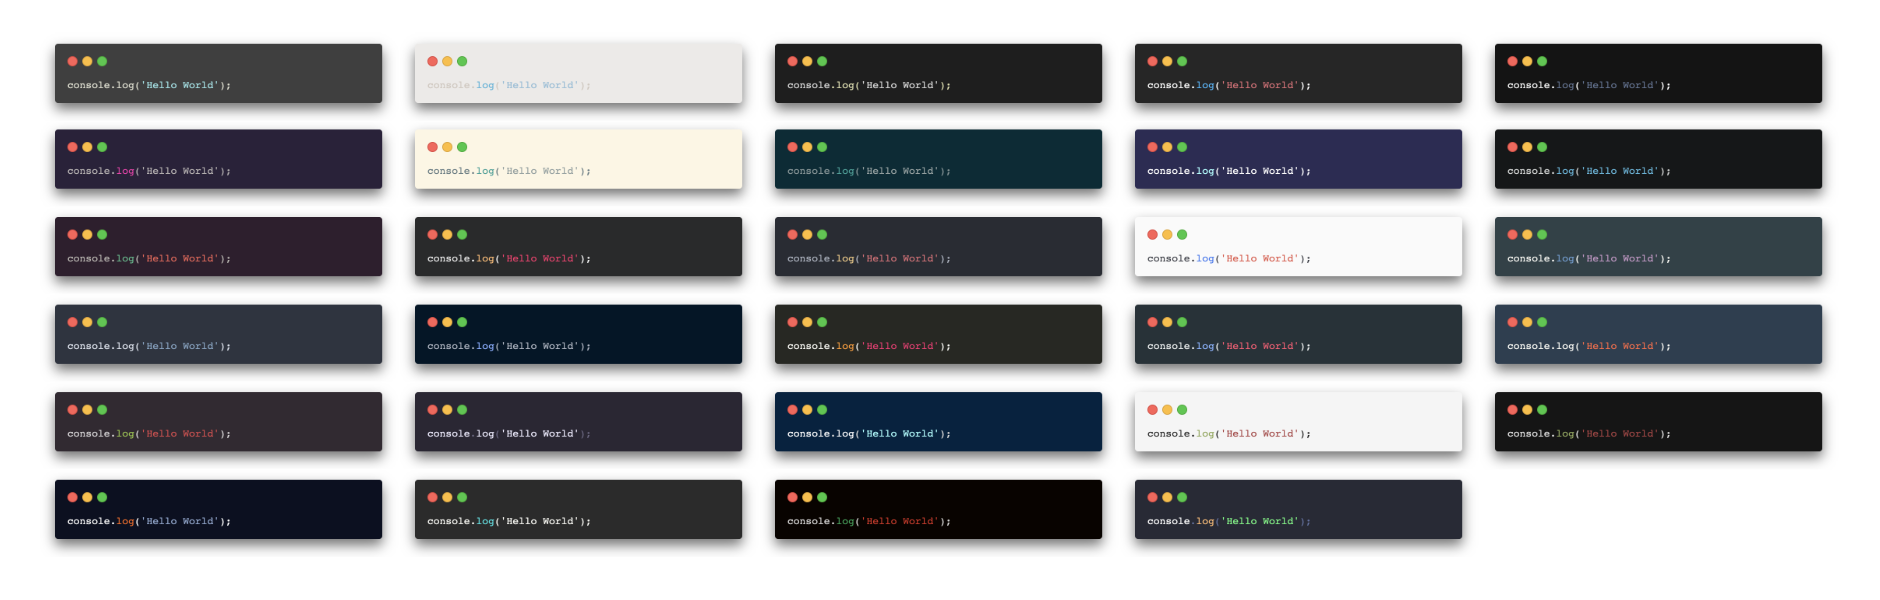
]carbon 은 다양한 테마를 지정하여 사용할 수 있다.
@deckdeckgo/highlight-code 에서 확인해보자
// In your gatsby-config.js
plugins: [
  {
    resolve: `gatsby-transformer-remark`,
    options: {
      plugins: [
        {
          resolve: `gatsby-remark-highlight-code`,
          options: {
            terminal: 'carbon',
            theme: 'blackboard'
          }
        }
      ]
    }
  }
]
인라인 코드 강조
한 줄 또는 여러 줄의 코드를 강조 표시 할 수있다.
- 언어 사양 옆의 괄호 사이 {}에서 줄은 쉼표로 구분 된 목록으로 제공되어야한다.
- 단일 행을 제공 하거나
(ex : dart{1})대시로 구분하여 여러 행을 제공 할 수 있다.(ex : javascript{3-6}) - 한 줄 또는 여러 줄을 함께 사용할 수 있다.
(ex : typescript{2, 3,4, 7, 8-15})
출처
gatsby-remark-highlight-code Gatsby
2. Gatsby Remark Vscode
gatsby-remark-highlight-code 막상 적용해 보니 별로 안이뻐서 교체
Gatsby Remark Vscode 는 이름 그대로 코드를 VScode 형식으로 보여준다. (좋군)
- 디자인

사용방법
패키지 설치
기본중의 기본 패키지 설치하기
npm install --save gatsby-remark-vscodegatsby-config.js에 패키지 추가
{
  // ...
  plugins: [
    {
      resolve: `gatsby-transformer-remark`,
      options: {
        plugins: [
          {
            resolve: `gatsby-remark-vscode`,
            options: {
              theme: 'Abyss' // Or install your favorite theme from GitHub
            }
          }
        ]
      }
    }
  ]
}
끝! Gatsby Remark Vscode는 config에 등록만 해주면 바로 사용 가능하다.
테마 및 언어
기본제공 테마
미리보기는 제공하지 않는것 같다. 하나씩 해보는수밖에
- Abyss
- Dark+ (default dark)
- Light+ (default light)
- Dark (Visual Studio)
- Light (Visual Studio)
- High Contrast
- Kimbie Dark
- Monokai Dimmed
- Monokai
- Quiet Light
- Red
- Solarized Dark
- Solarized Light
- Tomorrow Night Blue
기본제공 언어
- Batch/CMD
- Clojure
- CoffeeScript
- C
- C++
- C Platform
- C#
- CSS
- Dockerfile
- F#
- Git Commit
- Git Rebase
- Diff
- Ignore
- Go
- Groovy
- Handlebars
- Hlsl
- HTML
- CSHTML
- PHP HTML
- INI
- Java
- JavaScript
- JSX
- JSON
- JSON with Comments
- Less
- Log
- Lua
- Makefile
- Markdown
- Objective-C
- Objective-C++
- Perl
- Perl 6
- PHP
- Powershell
- Pug
- Python
- R
- Ruby
- Rust
- Sass
- SassDoc
- ShaderLab
- Shell
- SQL
- Swift
- TypeScript
- TSX
- ASP VB .NET
- XML
- XML XSL
- YAML
언어와 테마 추가 확장프로그램
기본적으로 포함되지 않은 언어 또는 테마를 사용하려는 경우 npm 패키지를 설치하여 사용할 수 있다.
-
ex ) robb0wen의 synthwave-vscode
npm install robb0wen/synthwave-vscode패키지를 설치한뒤 gatsby-config.js에서 옵션을 사용한다.
{
  theme :  `SynthWave '84` ,  // From package.json : Contributes.themes [0] .label
  extensions :  [ 'synthwave-vscode' ]  // From package.json : name
}
다중 테마
Gatsby Remark Vscode는 다중테마를 지원하는데 OS의 모드나 선택자등에 따라 활성화 될 테마를 다르게 선택할 수 있다.
-
OS 다크모드
{ theme: { default: 'Solarized Light', dark: 'Monokai Dimmed' } } -
선택자
{ theme: { default: 'Solarized Light', parentSelector: { // Any CSS selector will work! 'html[data-theme=dark]': 'Monokai Dimed', 'html[data-theme=hc]': 'My Cool Custom High Contrast Theme' } } } -
미디어 쿼리
{
  theme: {
    default: 'Solarized Light',
    media: [{
      // Longhand for `dark` option.
      // Don’t forget the parentheses!
      match: '(prefers-color-scheme: dark)',
      theme: 'Monokai Dimmed'
    }, {
      // Proposed in Media Queries Level 5 Draft
      match: '(prefers-contrast: high)',
      theme: 'My Cool Custom High Contrast Theme'
    }, {
      match: 'print',
      theme: 'My Printer Friendly Theme???'
    }]
  }
}
라인 코드
줄번호 표시하기
Markdown에서 코드구문 작성시 ``` 언어 뒤에 {numberLines} 를 붙여서 작성한다.
줄 번호 셀의 스타일은 .grvsc-line-number클래스에서 재정의 할 수 있다 .
``` js {numberLines}
import * as React from ‘react’;
React.createElement ( ‘span’, {});
```import * as React from 'react' React.createElement('span', {})
- 시작줄 지정
``` js {numberLines : 21}
return ‘blah’;
```return 'blah'
- 주석으로 처리
``` ts
function getDefaultLineTransformers(pluginOptions, cache) {
return [
one, // L4
two,
three
];
}
```function getDefaultLineTransformers(pluginOptions, cache) { return [ one, two, three ] }
인라인 코드 강조
-
인라인 코드 범위를 강조 표시하려면 gatsby-config.js에 inlineCode옵션을 추가 하고 marker문자열을 지정한다.
그런 다음 Markdown에서 코드 범위 앞에 언어 이름과 marker문자열을 붙여 해당 범위를 강조 할 수 있다.{ inlineCode: { marker: '•' } }이제 인라인 코드를 강조 표시 할 수 있습니다 :
Array.prototype.concat.apply ([], array) -
구문 테마는 기본적으로 코드 블록에 대해 선택된 테마로 설정되지만 인라인 코드 테마를 독립적으로 제어 할 수 있다.
{
  theme :  'Default Dark +' ,
  inlineCode :  {
    marker :  '•' ,
    theme :  {
      default :  'Default Light +' ,
      dark :  'Default Dark +'
    }
  }
}
라인 하이라이트
- 줄번호를 지정하여 강조표시하기
``` js {1,3-5}
this.isLine (1); // 강조 표시
this.isLine (2);
this.isLine (3); // 강조 표시
this.isLine (4); // 강조 표시
this.isLine (5); // 강조 표시된
```this.isLine(1) // 강조 표시 this.isLine(2) this.isLine(3) // 강조 표시 this.isLine(4) // 강조 표시 this.isLine(5) // 강조 표시된
- 주석으로 강조표시하기
``` js
function constant (value) {
return () => value; // highlight-line
}// highlight-next-line
const alwaysFour = constant (4);// highlight-start
const zero = [0, 1, 2, 3, 4, 5]
.map (alwaysFour) .filter
(x => x! == 4)
.length;
// highlight-end
```function constant (value) { return () => value; } const alwaysFour = constant (4); const zero = [0, 1, 2, 3, 4, 5] .map (alwaysFour) .filter (x => x! == 4) .length;
차이점 강조
구문 강조와 diff 강조를 결합 할 수 있다.
``` ts {diff}
function add (x, y) {
- return x + x;
+ return x + y;
}
```function add (x, y) { return x + x; return x + y; }
이외에도 다양한 설정과 옵션이 있으니 자세한 사항은 공식 문서를 확인하자.
출처 Gatsby Remark Vscode Awesome Open Source